Minecraft villager wheat farm
This is a villager wheat farm built on Java edition 1.21.5.
To get wheat to grow it is essential to plant it near to a water source and a light source. This build will have to be placed over powered rails. This farm is different to the other villager farms in the sense that the farmer villager will not pass wheat to another villager. In this farm, the farmer villager will not pass anything to another villager and will simply drop the wheat on the floor. This happens when the villager is full and cannot carry anything else. This is the reason why it may take a while for this farm to work as you have to wait for the villager to be full. Once the farmer drops the wheat the minecart on powered rails will pass underneath and pull the wheat through the grass blocks and into the chest. You will need to block off access to the composter that you placed in the middle of the farm. This is so that the farmer villager will not convert seeds to compost and empty their inventory.
What is wheat used for -
Food - wheat can be crafted in to loaves of bread, cookies and cakes and used as a food source.
Food - wheat is used for cows, sheep, goats and mooshrooms. When holding wheat all of these animals will follow you and you can place them in a pen.
Breeding - wheat can be fed to cows, sheep, goats and mooshrooms to encourage breeding.
Healing - wheat can heal a horse 1 health or lower its temper by 3% when attempting to tame it. It can also decrease the time it takes for a foal to grow by 20 seconds.
Where can wheat be found -
Farming - you can grow wheat by planting wheat seeds on tilled soil and waiting.
Villages - you can find wheat growing in villages.
Chests - wheat can be found in loot chests in structures like dungeons, shipwrecks, igloos and woodland mansions.
Trading - villagers especially farmers may trade wheat for emeralds.
Biomes - wheat naturally generates in certain biomes like plains, savannas and mushroom islands.
Where can you get wheat seeds -
Breaking grass - the best way to get wheat seeds is to break grass.
Harvesting wheat - when you harvest wheat it will drop wheat seeds along with the wheat.
Loot chests - structures like villages and mineshafts may contain seeds in their chests.
Trading - wandering traders sometimes sell wheat seeds.


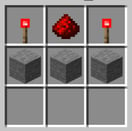
Hoe
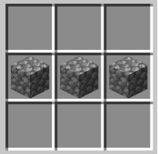
Composter
Hopper
Bucket
Glass block
In this section we will discuss the materials and the ingredients that we need to make this build. This will give a concise list of the items and the recipe's to make them.
Chest
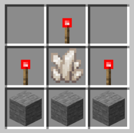
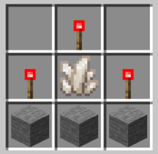
Redstone torch
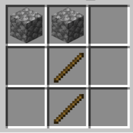
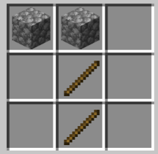
Powered rails
Rails
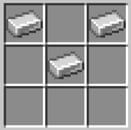
Slab
Trapdoor
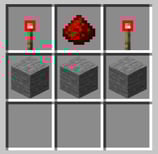
Comparator
Repeater
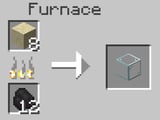
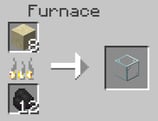
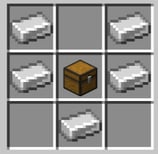
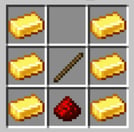
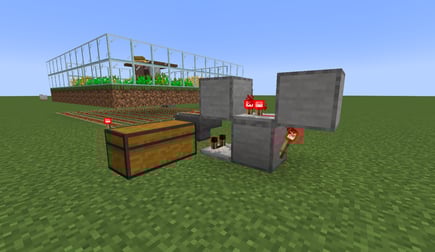
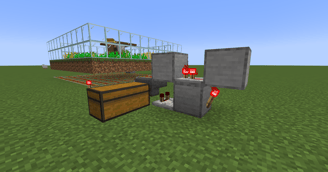
Minecart with hopper - you will need to make a hopper and minecart and then combine the two.
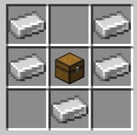
Hopper - in this build you will need to make a chest first.
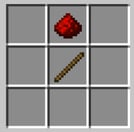
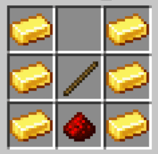
Repeater and Comparator - you will need to craft a redstone torch first.


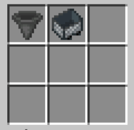
Minecart with hopper
Here we will explain in detail how to build a villager wheat farm in Minecraft. Please follow the instructions carefully.
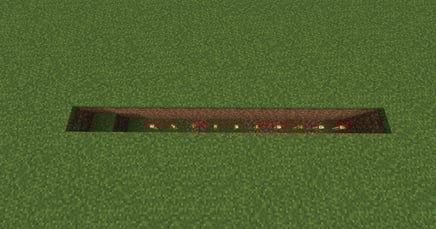


In the first section of this build we need to dig down 2 blocks and 11 x 1 wide.
Next ensure that we can get out by digging 1 block out and get out of the trench.
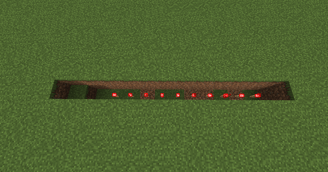
Next place ten redstone torches in the trench starting from the opposite end to the step.
Next place dirt blocks over the ten redstone torches making a flat area to build your farm.
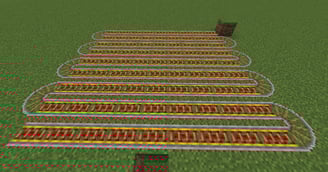
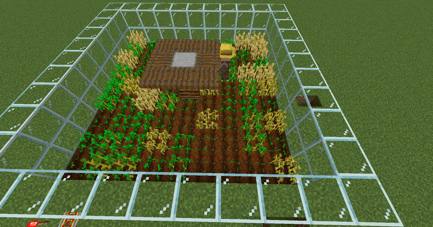
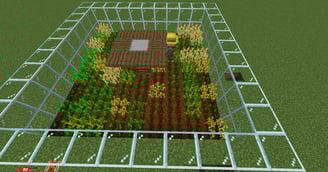
We will then start to place our powered rails, make a grid layout 9 x 9 blocks as shown in the picture.
Ensure that the fifth rail along is over the redstone torches that we placed in the ground.
The final step in the section is to round the corners with standard rails leaving the closest and nearest open.
Place a block on one of these ends.
Next build a 11x11 square of dirt blocks above the rails that we built earlier.
This should cover the rails completely including the non powered rails.
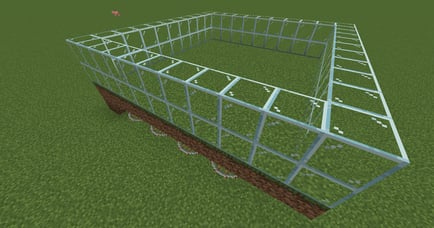
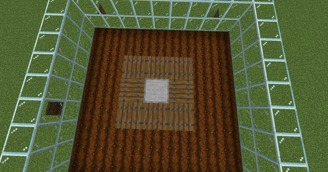
Here we will build an enclosure for the villager.
Simply place a 2 block wall of glass around the whole enclosure.
This will enable you to see what the villager is doing.
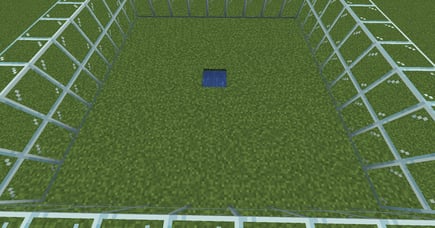
Ok, lets dig 1 block out exactly in the middle of the grass square.
Place a slab down in this hole at the bottom and place the water bucket on top of the slab.
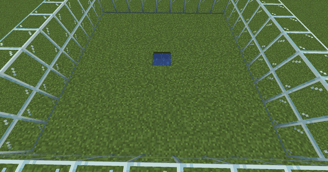
Lets now hoe the area. This will ensure that the area is ready a grow wheat.
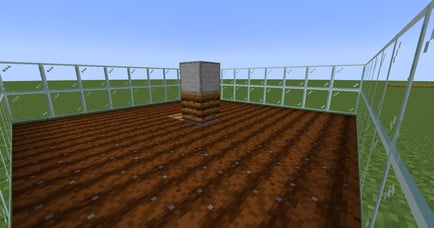
Lets now place a composter over the water block and place a stone block over the composter.
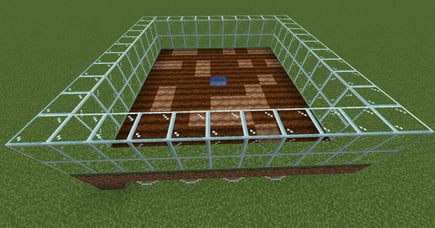
In this step we will place the eight trapdoors around the top of the stone block and leave them open.
This will ensure that the villager cannot fill the composter and will continue to hold all the items collected.
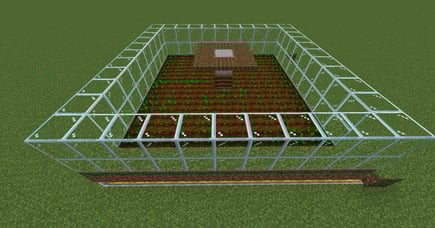
Ok, lets plant the wheat seeds.
This is the quickest way to get this farm started.
The other options is to give the villager the wheat seeds and allow him to plant them.
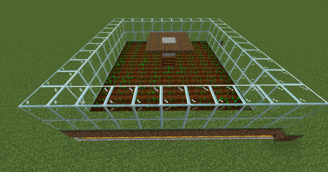
Here is the farm section working as planned.
When the villager gets full of items they will then start to drop the wheat on the ground to be collected by the minecart.
In this last section we build the collection system. This is the final build of the transport minecart unloader system.
This is when the minecart will be added to collect the wheat.


What can go wrong - wheat not being collected from all or part of a section of the crops.
Ensure that the powered rails are under the entirety of where the crops are growing.
Ensure that the powered rails are powered,
Ensure that there is no block gap between the minecart and the dirt blocks that are growing the crops.
What can go wrong - farmer villager taking a long time to drop the wheat.
Although it can take a while for this farm to get working, if the village farmer is not dropping wheat after a long time ensure that they have no access to the composter. If unsure throw seeds to the farmer to fill up their inventory and see if it works then.
How to make the build easier -
Place a block over the composter on this build so that it cannot be used.
Place a minecart track from a villager breeder into the farming area to transport the villager easier.


Additions to the build -
A second villager can be added making the farm more efficient.