Minecraft trading post
This build is a trading post built on Java edition 1.21.5.
The trading post is a place where you can go to trade with villagers. Depending on which villager you visit will depend on what items they have to offer and for what they require for items. Most of the trades are self explanatory on what they do. All of the villagers will be able to offer you emeralds in exchange for items that they would like. Like wise, you can use emeralds to purchase items that you require. This build works by the player trading with different villagers. There are five different levels of village trader these are -
Novice - stone
Apprentice - iron.
Journeyman - gold.
Expert - emerald.
Master - diamond.
By trading with villagers both the villagers levels and the players experience will increase depending on what happens.
Villagers level increases when traded with.
Each villager starts at novice level.
All transactions involve emeralds.
Villager trades reward player with 3-6 experience.
Player receives 5 experience when villager levels up.
The best time to build this trading post is when you have built a villager farm/breeder (Villager breeder).
Villagers can be found in any village and can be traded with.


In this section we will discuss the materials and the ingredients that we need to make this build. This will give a concise list of the items and the recipe's to make them.
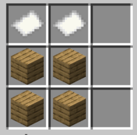
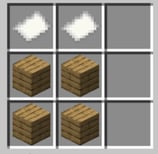
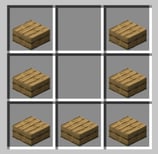
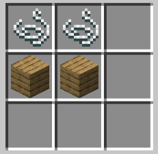
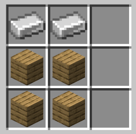
Planks
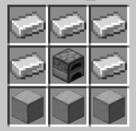
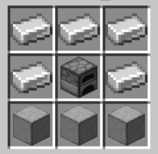
Blast furnace
Smoker
Cartography table
Brewing stand
Composter
Barrel
Fletching table
Cauldron
Lectern
Loom
Smithing table
Grindstone


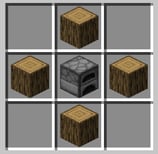
Blast furnace - this needs a furnace to make.
Smoker - this needs a furnace to make.
Lectern - this needs a bookcase to make.
Brewing stand - this needs a blaze rod which are found in the nether.


Here we will explain in detail how to build a trading post in Minecraft. Please follow the instructions carefully.
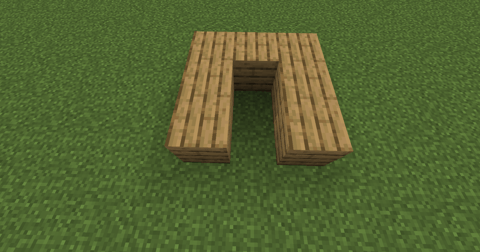


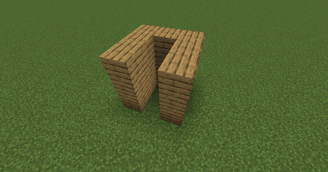

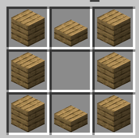
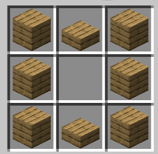
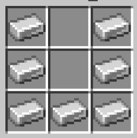
In the first step of this build we build a low level structure that is 3 blocks deep and 3 blocks wide. Leave a 2 block gap up the middle.
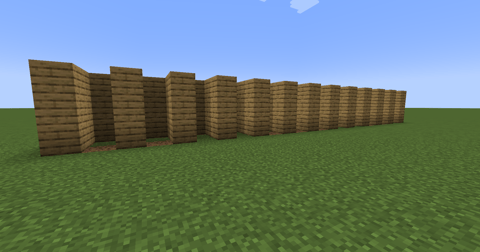
Next we will build the walls 3 blocks high, it should look something like this.
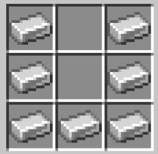
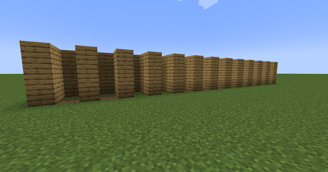
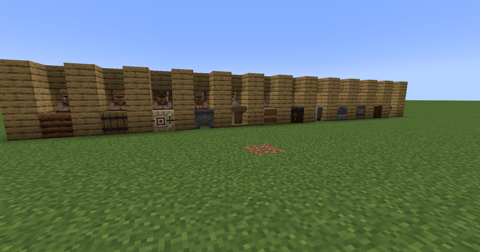
In the next step we need to replicate this eleven times. This will total 12 cubicles where your villagers will stand.
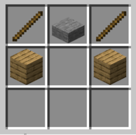
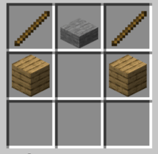
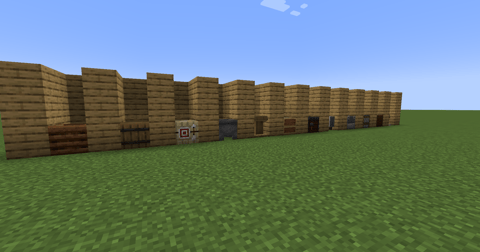
Ok, lets place the job blocks down so that the villagers get their correct jobs.
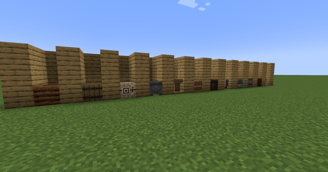
Once these are placed down you need to place a block at the top of the builds above where the villager will stand.
The final step is placing your villagers behind the job blocks. The villagers will change to their jobs once they are in place and you can trade with them.


What can go wrong - villagers escaping.
Ensure that there is a block above the villagers head so that they do not have the space to jump out.
How to make the build easier -
It is recommended to build a villager breeder first as this build needs a lot of villagers.

Additions to the build -
Signposts - the player could add signposts to the build stating what type of villager it is.