Minecraft iron farm


Here we will build an iron farm in Java edition 1.21.5.
This simple build works by placing villagers into close proximity with a mob, which in turn produces an iron golem in a set place.
Iron is a versatile item in Minecraft that can be used for many things,
Iron Golems - can be used to craft or heal an iron golem.
Buckets or cauldrons - can be used to transport lava, water, milk etc.
Tools and armour - can be used to craft tools such as anvils, hoppers and blast furnaces as well as crafting and repairing iron armour.
Trading - with villagers, usually 'smith' villagers.
Crafting Rails - can also craft powered rails an minecarts.
Beacons - iron can be used to power beacons.
This build also produces poppies which can be used for:
Crafting red dye - can then be used to colour items such as beds, carpet, leather armour and banners ect.
Breeding bees - Bees will breed if fed poppies.
Night vision effect - if consumed.
Suspicious stew - can be combined with a brown and a red mushroom in a bowl.
Decoration - can be used in a vase or just planted.
Trading - can be traded with 'shepherd' villagers for emeralds.
Although an Iron farm is the best way to get iron. There are other options for obtaining iron. These include:
Mining - pretty much anywhere.
Trading - with apprentice armourers, tool smiths, or weapon smith villagers.
Chests - pretty much any anywhere.
Mobs - will drop an ingot occasionally.
Poppies can also be found:
In Plains biomes.
In a village chest.


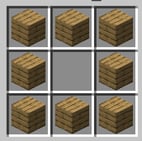
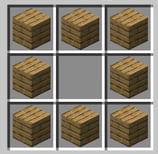
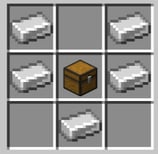
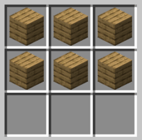
Chest
Hopper
Stair
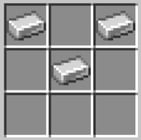
Slab
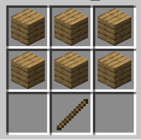
Trapdoor
Sign
Bucket
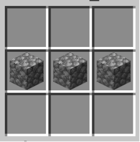
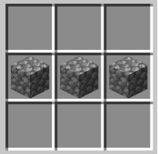
Stone fence
Glass block
In this section we will discuss the materials and the ingredients that we need to make this build. This will give a concise list of the items and the recipe's to make them.
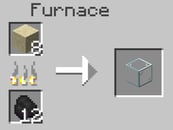
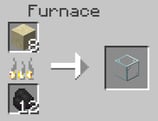
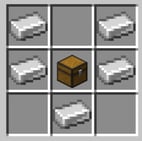
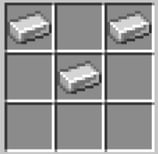
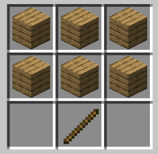
Hopper - to craft a hopper you will first need to craft a chest.


Here we will explain in detail how to build a iron farm in Minecraft. Please follow the instructions carefully.
Start this build by creating a 26 × 26 block path square (a path is created by placing a spade on a block instead of breaking it).
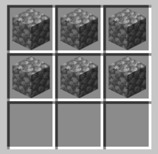
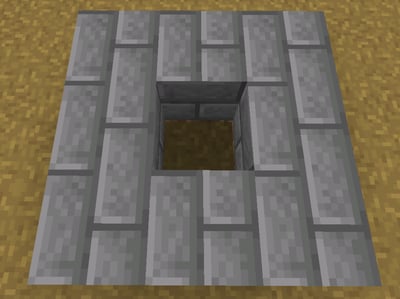
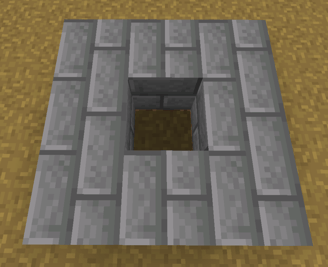
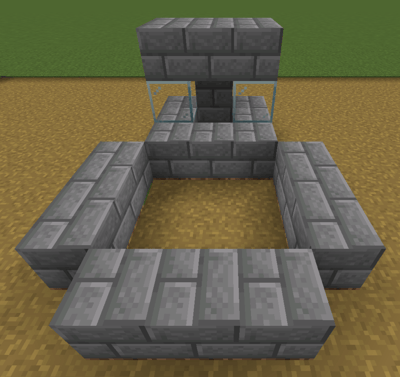
Next build a 3 × 3 stone square with a 1 block gap in the middle of the path square as shown.
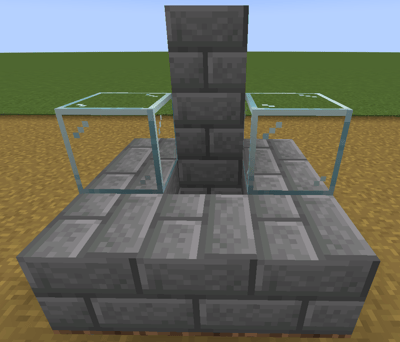
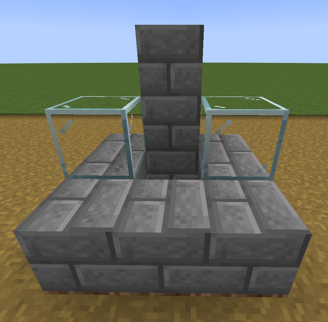
Place 2 glass blocks either side of the hole.
Place 1 block 2 high in the middle behind the hole, as shown in the picture.

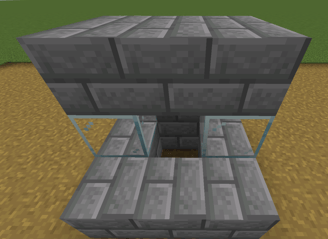
Place blocks on top of and behind the glass blocks to form a 2 × 3 block platform.

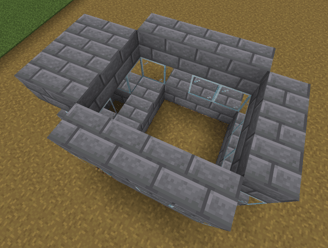
Next place blocks 1 high to form a 4 x 5 block square leaving off the corners and leaving a 3 x 3 block square empty in the middle.


Place glass blocks on top of the stone blocks in a 4 x 3 block formation leaving out the top corners and leaving a gap of 1 block as shown.

Place stone blocks on top of the glass blocks in a 4 x 3 block leaving out the corners as shown.

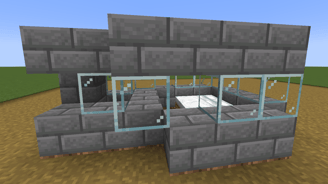
Place 3 beds inside the 3x3 block space.
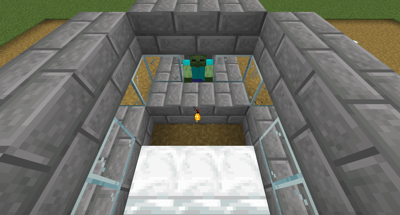
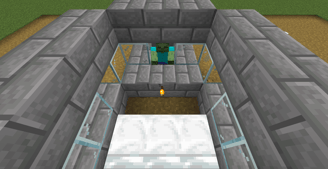
Persuade a zombie into the 1 block hole (you will need to take out the block above the hole and then replace it once the zombie is in) and keep him there by placing a nametag on him – I called mine Bob!
Place a torch in front of the beds.
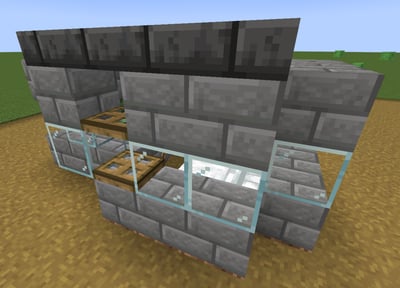

Place a trapdoor on top of the stone block that doesn’t have a glass block and then another one directly above it.
Place slabs on top of the stone blocks (this stops iron golems spawning outside of the build).
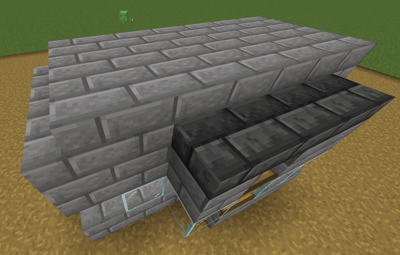
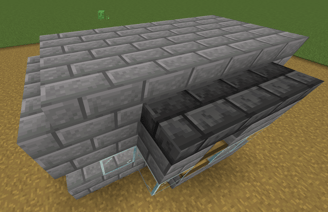
Place stone blocks to cover the top of the build as shown 7x3 blocks.
Place 3 stairs across the end of the build above the zombie.
Place stone fences around the top of the build and down the front at the zombie end.
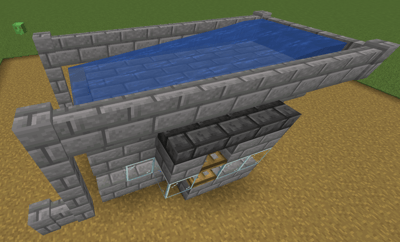
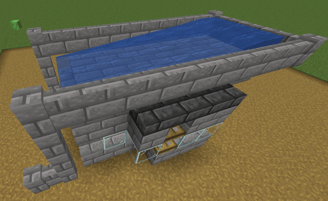
Place 3 buckets of water against the fences so that the water runs towards the stairs.
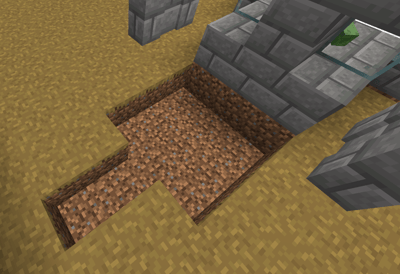
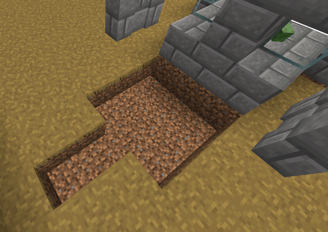
Dig a trench 3x3 block and 1 deep out from the zombie end of the build.
Dig a further 2 blocks out from the middle of your 3x3 block trench.
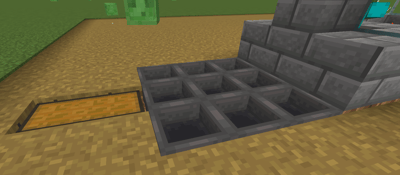
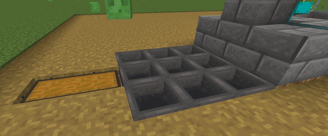
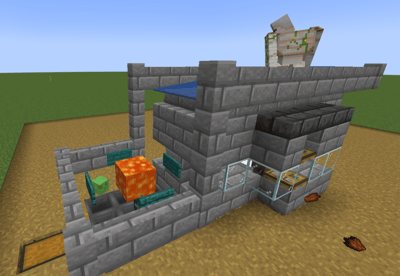
Place 2 chests as shown.
Place 9 hoppers connecting to the chest in the 3x3 trench.

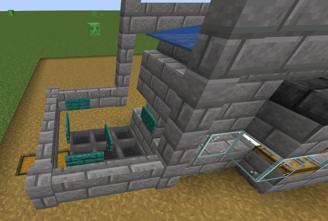
Continue the fences so that they surround the hoppers 1 block above.
Place signposts on the fences as shown as well as one on the stone block behind the zombie.
Place a signpost on top of the middle hopper (remember to crouch or you’ll be chasing the signpost through the hoppers to the chest).
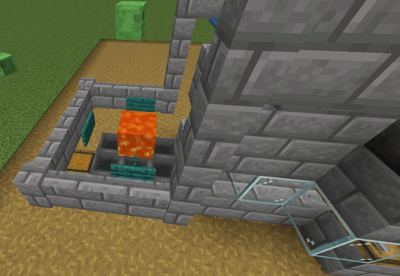

Place a bucket of lava on top of the middle signpost (the surrounding signposts should keep it in place providing they are in the correct place).
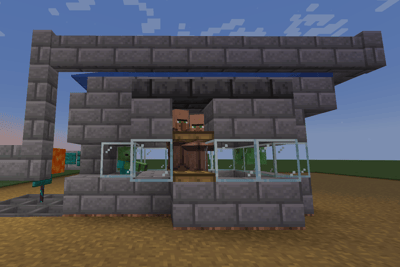

The last step of the build is to get 3 villagers into the beds (this may take a little time)

As you can see if it is working correctly the Iron Golem will spawn on top of the build in the water and slide to the edge.
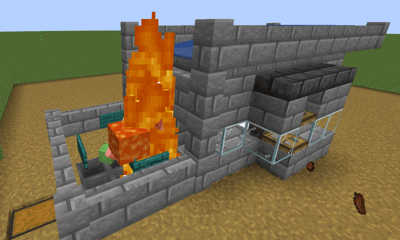

Once the iron golem slides through the water it will land in the lava.
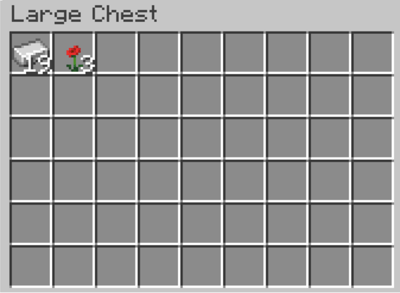

If you check in your chest after, you will find iron ingots and poppies.


What can go wrong - lava flowing everywhere.
Ensure that you place the signs correctly.
What can go wrong - golems spawning in wrong place.
Ensure that slabs are placed correctly.