Minecraft villager carrot farm
In this build we will be building a villager carrot farm in |Java edition 1.21.5.
This farm is perfect when you don't want to spend your time planting, growing and harvesting crops. This farm is completely automated with the help of two villagers. Although quite a simple build because of the use of villagers you will need to find a village that is reasonably close to your build.
This build works by having villagers plant, grow and harvest the carrots for you. This farm requires two villagers to work. One of the villagers will be placed in the middle of the build that will become a farmer and will plant, grow and harvest the crops. The villagers will pass food between each other if they can see each other. When the farmer villager passes the carrots to the other villager, the carrots will hit the fence post and drop down into the hopper and eventually into the chest for the player to collect. The player does not need to have any interaction except potentially at the start when the player may plant the first lot of crops to get the farm started.
What can carrots be used for
Food source - carrots are a good food source for the player.
Breeding - carrots can be used for breeding pigs, rabbits and villagers.
Farming - carrots can be planted to grow more carrots. Each carrot drops between 2 and 4 carrots when harvested.
Crafting - carrots can be crafted with gold nuggets to create golden carrots, which are used to brew potions of Night Vision. Golden carrots also provide one of the highest saturation levels when eaten.
Crafting - carrots are an ingredient in crafting a carrot on a stick, which is used to control pigs when riding them.
To grow carrots you will first need to obtain carrots. These can be found at the following places:
Village farms - Carrots can be found at village farms.
Zombies - have a chance to drop carrots.
Shipwrecks and chests - Carrots can sometimes be found in shipwreck supply chests.
Dungeon chests - Carrots can also be found in dungeon chests.


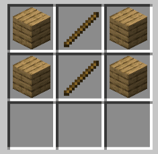
Hoe
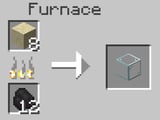
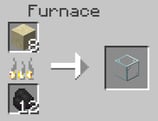
Composter
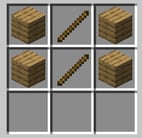
Hopper
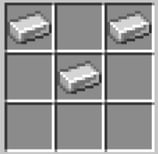
Bucket
Trapdoor
Fence
Glass block
In this section we will discuss the materials and the ingredients that we need to make this build. This will give a concise list of the items and the recipe's to make them.
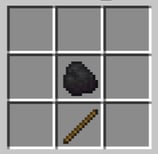
Torch
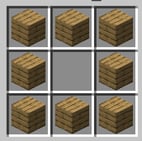
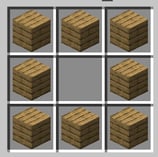
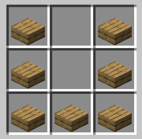
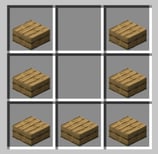
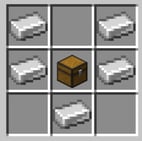
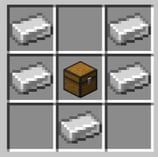
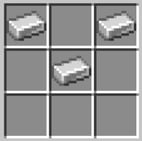
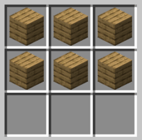
Chest


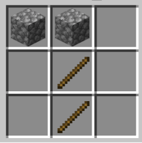
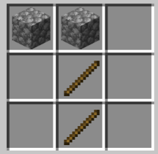
Hopper - you will need to craft a chest in order to make a hopper.


Here we will explain in detail how to build a villager carrot farm in Minecraft. Please follow the instructions carefully.

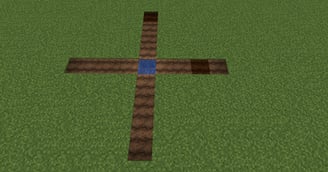


In the first stage of this build we need to dig a hole and place a bucket of water in to it.
This will be the centre of the planting area.
The next step is to hoe 4 blocks out from each of the flat sides of the block.
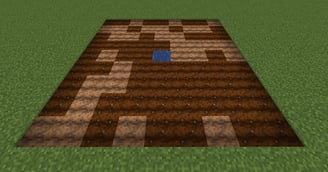
The next step is to hoe between these lines.
This should make a 9x9 square for to plant your crops. As you can see from the screenshot the ground is already becoming watered from the water block.
You can see this from the darker blocks of tilled soil.
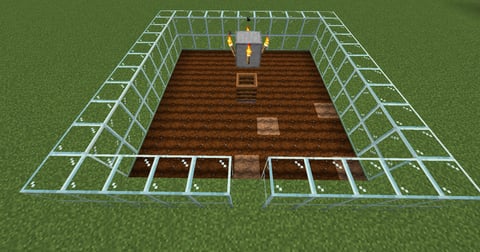
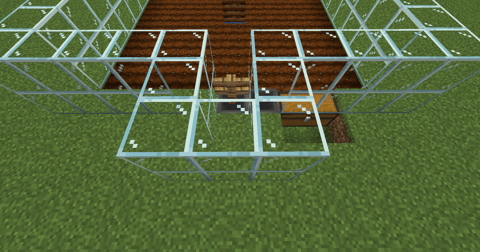
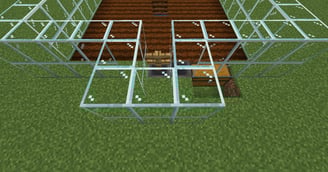
In this section we will build a glass wall 2 blocks high all around the crop growing area.
Leave a 1 block opening on one side in the middle. Next place a composter over the water block and then place a stone block above this leaving a 1 block gap between the two.
Place torches on all sides of the stone block.
The composter is used so that when your villager has spare seeds they will place these into the composter to make bonemeal and the villager will use this to help grow the crops.
Here we will hollow out a 4 block trench that goes underneath the glass blocks.
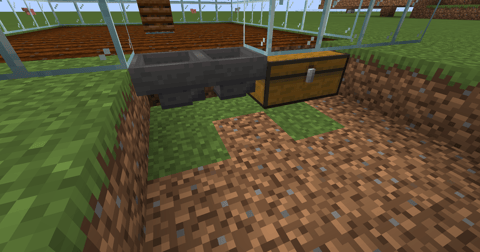
So working from the right place your chests down next to each other to make a large chest.
Next place 2 hoppers that lead into the chest. This is your collection system.
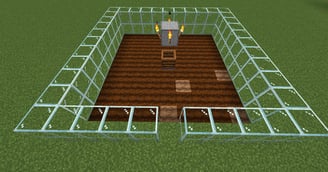
Next you need to fill in the trench but leave 2 holes in front of the chest so that it can be accessed.
Next build the glass walls out around the gap that you left, this should mean that you have a solid grass block behind the hoppers that we placed before.
On top of this hopper we need to place a fence (between the glass blocks), you will need to crouch down when placing the fence.
Ok, lets place a trapdoor above the fence at the top of the glass block and make sure it is left shut.
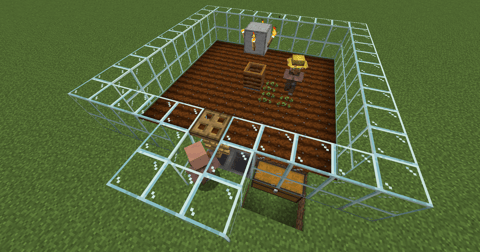
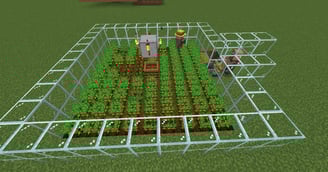
The next step is to add the villagers. We will first place the villager in the centre of the crop area. He will change into a farmer, you can see this from the hat he is wearing.
As soon as he receives seeds he will start to plant them. Next we will place the villager behind the fence post.
This setup will then produce your carrots with no input from yourself.
Here is the finished build.


What can go wrong - Villager not picking up crops
This is normally because your villagers inventory is full.
This will mean that your villager can no longer pick up the crops to pass them to the other villager.
To resolve this you will need to create another villager to collect crops.
Also ensure that there is a clear path to the collector villager.
What can go wrong - Villager not breaking the crops
The most common reason for this is that mobGriefing is switched off.
If mobGriefing is off the villager cannot break crops use /gamerule mobGriefing = true in commands to rectify this.
What can go wrong - Villager not planting or harvesting crops
This will be because the job blocks are not positioned properly.
Make sure that the the villager can access the job block and that their profession changes to a farmer, he should have a yellow straw hat to show that they are a farmer.
How to make this build easier - I would recommend that you build a transport system from a villager breeder straight in to the correct section of this build.


Additional builds -
You can add a transport system to take the carrots away.
Also we could add a temporary transport system to get the villagers in to the correct places.